8.4.2.5 Line Crossing
Line Crossing detection is designed to work in most indoor and outdoor environment. An event will be triggered every time when the camera detects objects crossing a defined virtual line.
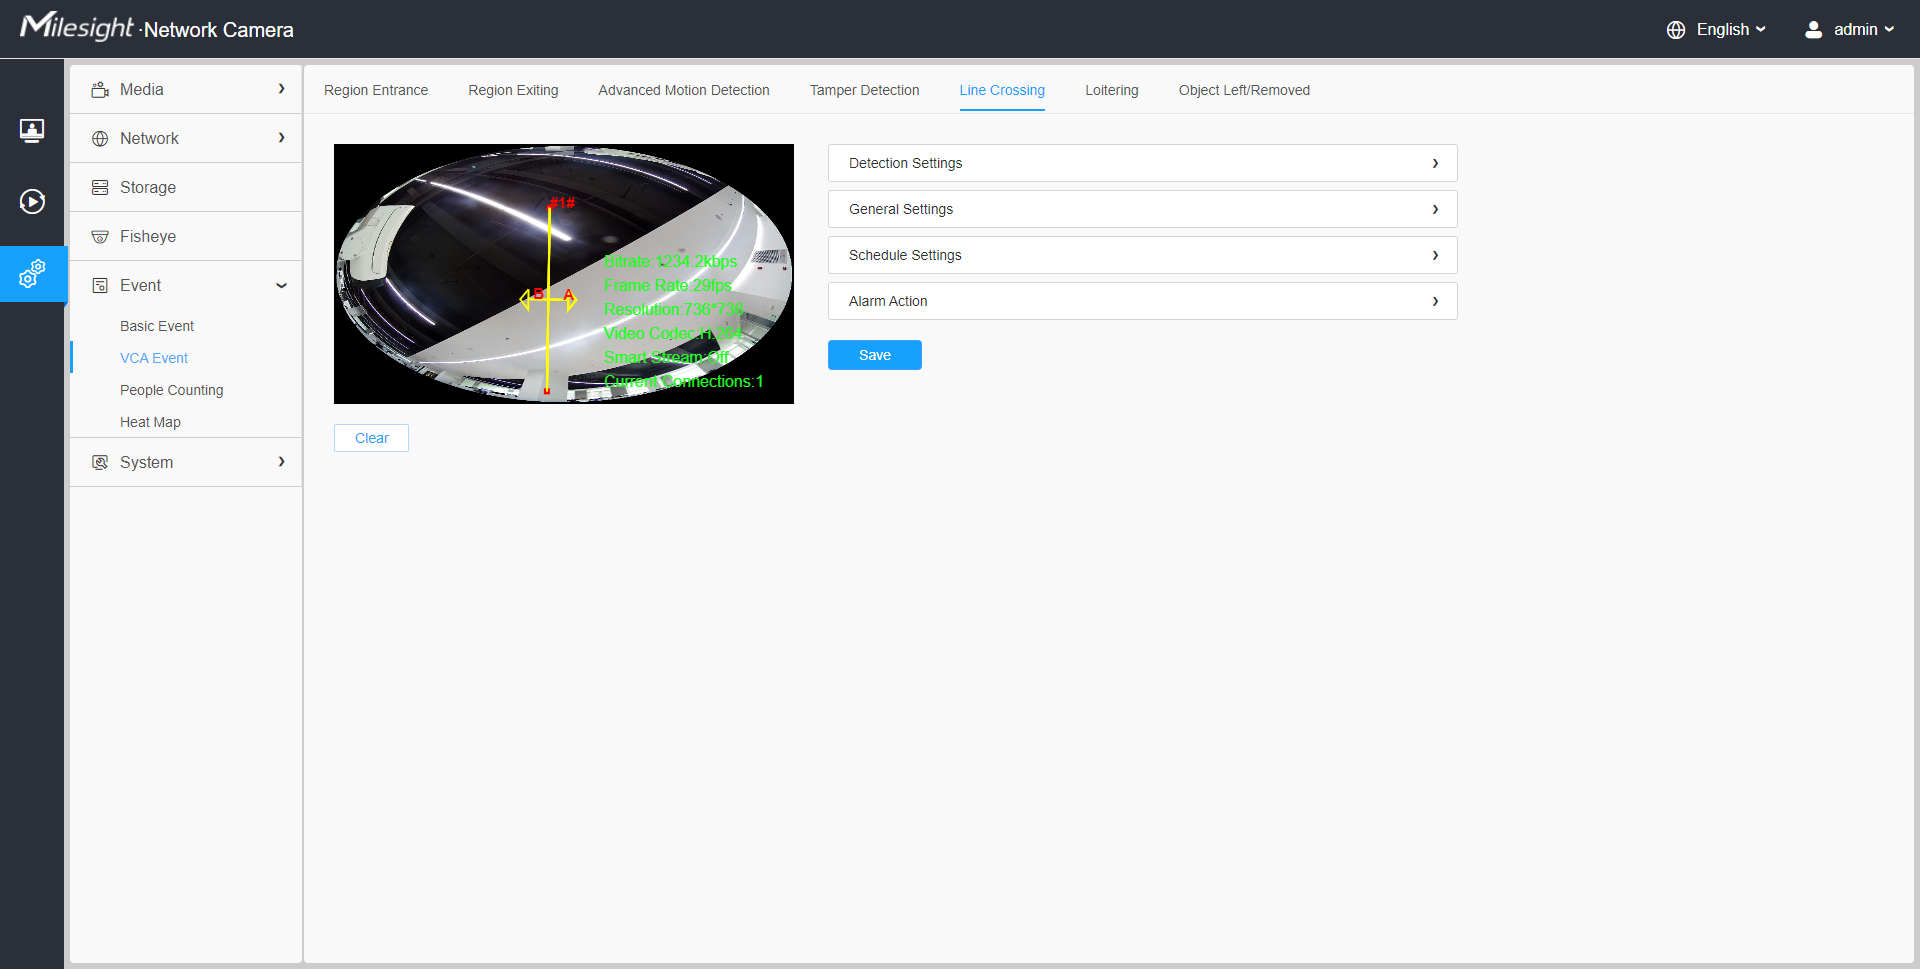
Settings steps are shown as follows:
[Detection Settings]
Step1: Selected detection line.
Step2: Enable line crossing detection and define its direction.

Note:
- Allows to set up to four lines at a time. There are three direction modes to choose for triggering alarm. “A→B” means when there is any object crossing the line from the “A” side to the “B” side, the alarm will be triggered. “B→A” vice versa. “A ↔ B” means that the alarm will be triggered when objects cross line from either side.
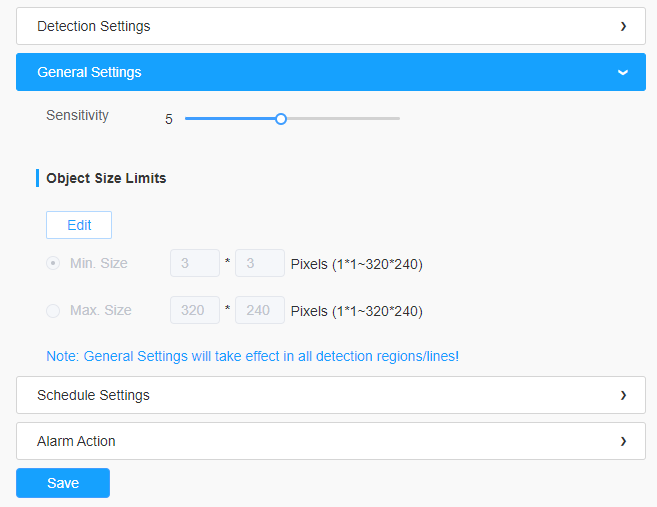
[General Settings]
Step3: Set detecting sensitivity and object size limits;
| Parameters | Function Introduction |
|---|---|
| Sensitivity | Level 1~10 are available, the default level is 5. The higher the sensitivity, the easier it is for moving objects to be recorded in the results. |
| Min. Size | Draw the screen or input pixel number to set the minimum size of the detected object. When the object is smaller than this size, it will not be detected. The default minimum size is 3*3. |
| Max. Size | Draw the screen or input pixel number to set the maximum size of the detected object. When the object is larger than this size, it will not be detected. The default maximum size is 320*240. |
[Schedule Settings]
Step4: Set detection schedule;
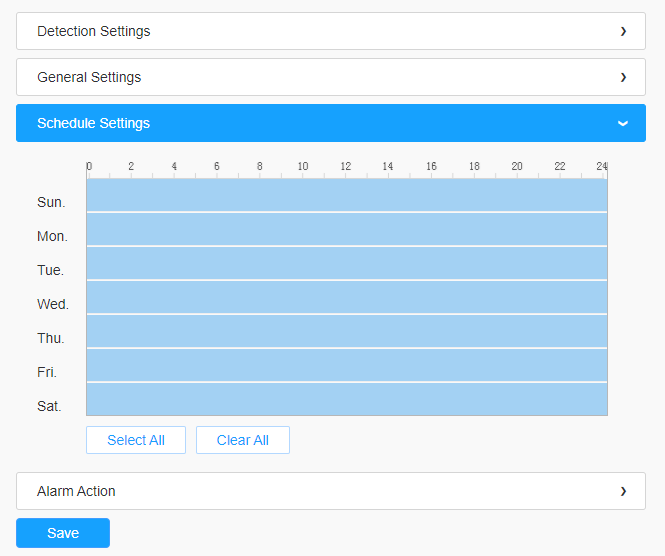
Note: This part is the same as the regular schedule settings. You can refer to 8.4.2.1 Region Entrance.
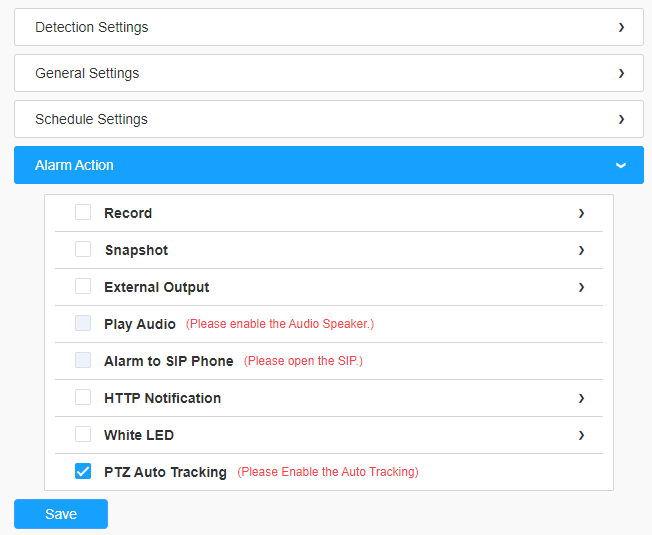
[Alarm Action]
Step5: Set alarm action;
Note:
- This part is the same as the regular alarm settings. You can refer to Description of the buttons.
- If you enable External Output and choose Constant External Output Action Time, when objects cross a defined virtual line, External Output Action alarm time will be always constant till the alarm is released