8.4.2.6 Loitering
When objects are loitering in a defined area for a specific period of time, it would trigger an alarm.

Settings steps are shown as follows:
[Detection Settings]
Step1: Selected detection region.
Step2: Enable loitering detection.
Step3: Set Min. Loitering Time. After setting minimum loitering time from 3s to 1800s, any objects loitering in the selected area over the minimum loitering time will trigger the alarm;

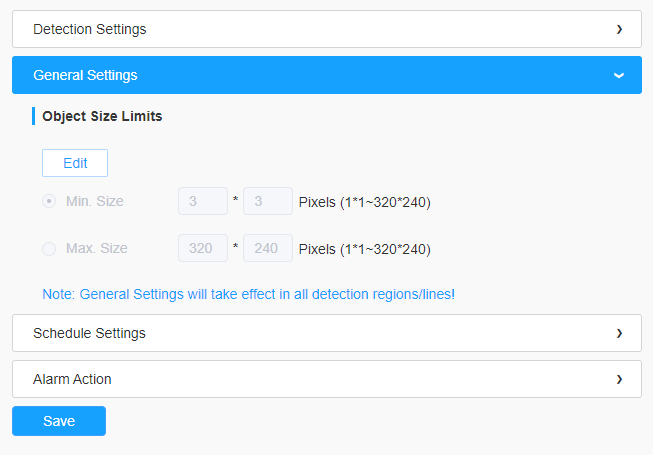
[General Settings]
Step4: Set object size limits;

| Parameters | Function Introduction |
|---|---|
| Min. Size | Draw the screen or input pixel number to set the minimum size of the detected object. When the object is smaller than this size, it will not be detected. The default minimum size is 3*3. |
| Max. Size | Draw the screen or input pixel number to set the maximum size of the detected object. When the object is larger than this size, it will not be detected. The default maximum size is 320*240. |
[Schedule Settings]
Step4: Set detection schedule;
[Alarm Action]
Step5: Set alarm action;
- This part is the same as the regular alarm settings. You can refer to Description of the buttons.
- If you enable External Output and choose Constant External Output Action Time, when objects loiter in the selected regions, External Output Action alarm time will be always constant till the alarm is released.
Step5: Set alarm settings. If you enable External Output and choose Constant External Output Action Time, when objects loiter in the selected regions, External Output Action alarm time will be always constant till the alarm is released.