3.6.4.5 Privacy Mask
The NVR supports to set privacy mask. It is used to cover some privacy area which is not proper to appear on monitor.
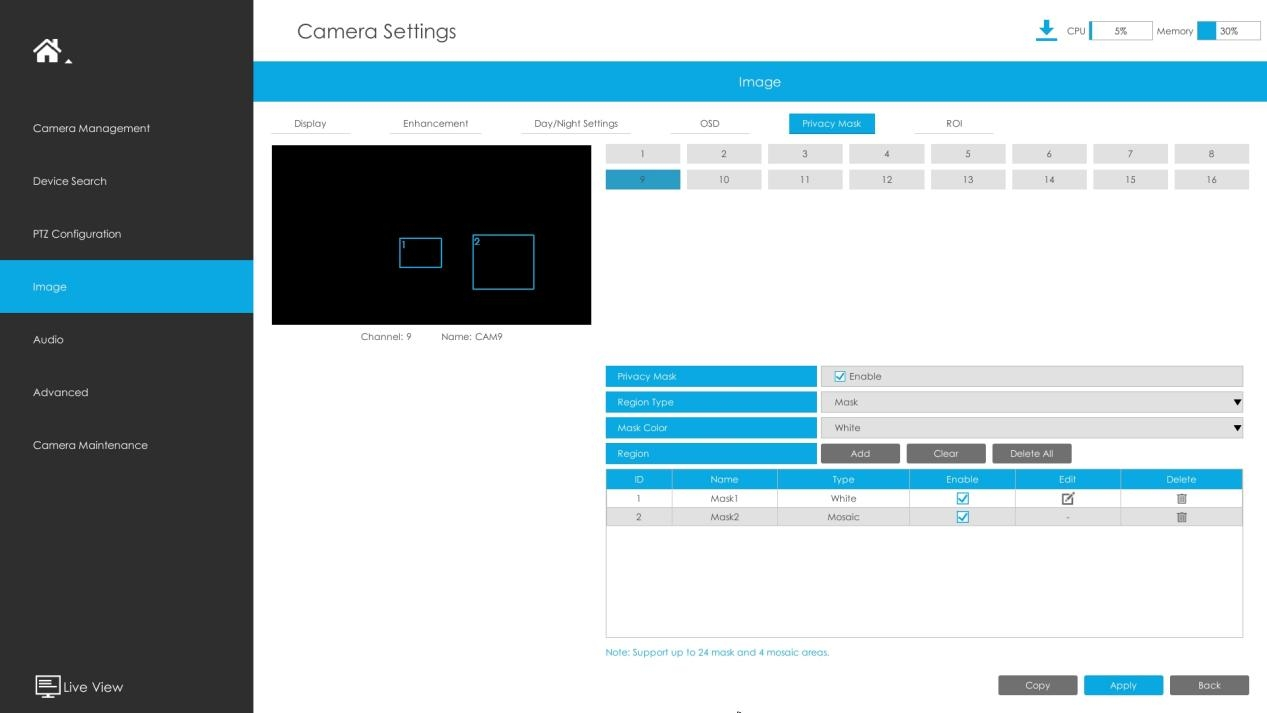
You can add a privacy mask by following steps:
Step1. Select channel and enable privacy mask.
Step2. Select the Region Type as Mask or Mosaic.
Step 3. Drag the mouse to select the area which needs to be protected on the live view window and then click"Add" button to add the area to the table. You can add 24 masks and 4 mosaic areas at most and each zone can be enabled and disabled. Please note that the areas added to the table will not take effect until you click "Apply".
- Ensure that your camera model isn’t Lite series, or camera’s version isn’t 40.X.X.XX, 41.X.X.XX, and 46.X.X.XX.
-
Ensure that your NVR version is V7x.9.0.14 or above, and camera version is Vxx.7.0.79 or above to support the mosaic area.
Step3. Copy the privacy area to the other channels by clicking the "Copy" button on the button of the windows.
Step4. Select "Apply"to save the settings.