SC541 Custom Profile Template
This topic describes how to create a custom Profile template for SC541 or SC541-HL.
Background information
A Profile template contains both Basic Settings and Advanced Settings. Basic settings can edited with the visual interface provided by Milesight Development Platform, while the advanced settings can ONLY be edited in JSON format.
Follow the workflow below to create and apply a custom Profile template:
- Create a custom Profile template on Milesight Development Platform.
- Configure the basic settings with the visual interface.
- Configure the advanced settings in the JSON format.
- Save and apply the custom Profile template accordingly.
Step 1. Create a custom Profile template
- Log in to Milesight Development Platform.
- On the top bar, click Resource,
then select the My Config
tab.

- Click Add.
- In the Basic Configuration section, configure the
basic information:
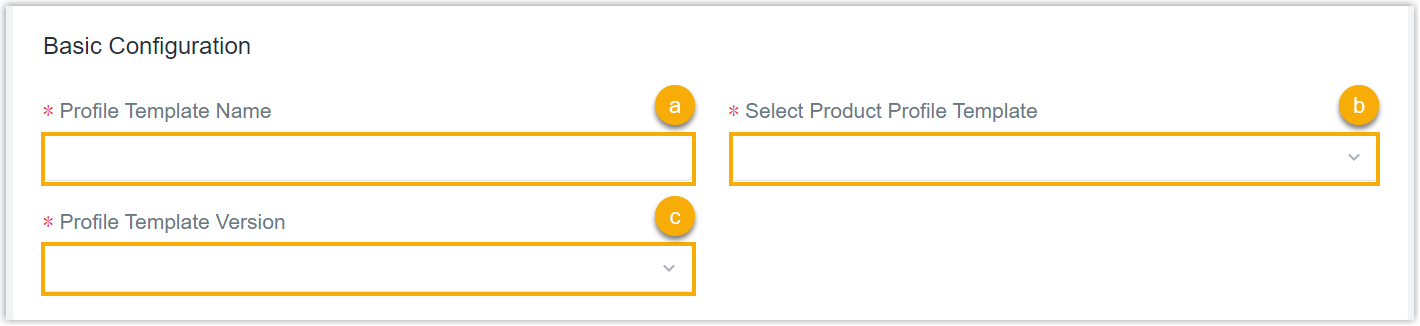
- In the Config Template Name field, specify a name to help you identify this template.
- In the Select Product Config Template field, search and select SC541_Profile_Template.
- In the Config Template Version drop-down list, select the version of the Profile template.
Step 2. Configure the connecting platform
- Select the Generic Configuration tab.
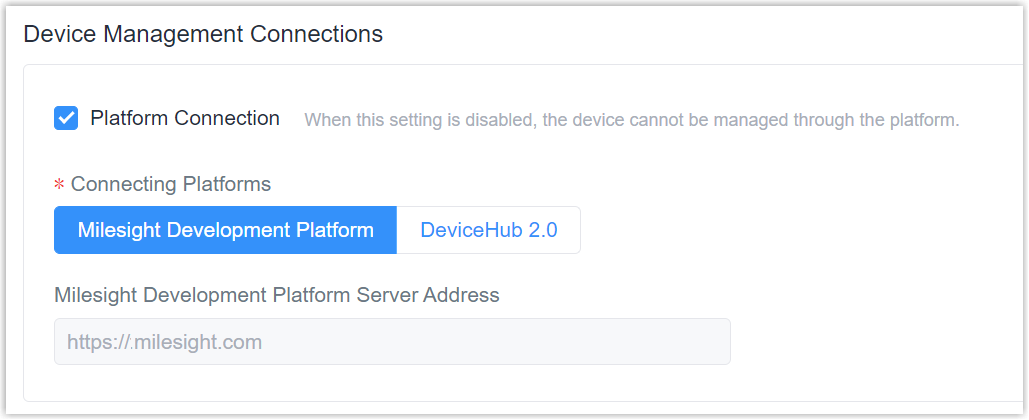
- In the Device Management Connections section, decide
whether to connect the device to Milesight platform for remote management
and configuration.
- Connect the device to Milesight Development Platform
- Retain the default settings.
- Connect the device to Milesight DeviceHub
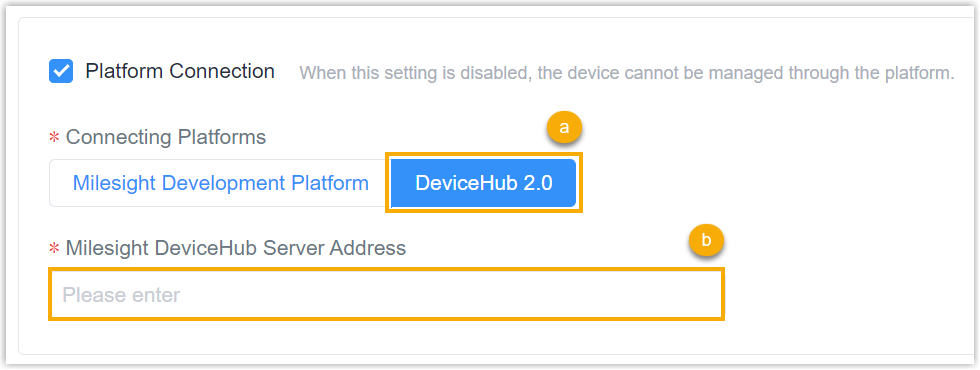
- In the Connecting Platforms field, select DeviceHub 2.0.
- In the Milesight DeviceHub Server Address field, enter the server address of the Milesight DeviceHub.
- Do NOT connect to Milesight platform
- Uncheck the Platform Connection.

Step 3. Configure the Image settings
- Select the Basic Configuration tab, then go to the
Image Adjustment section.
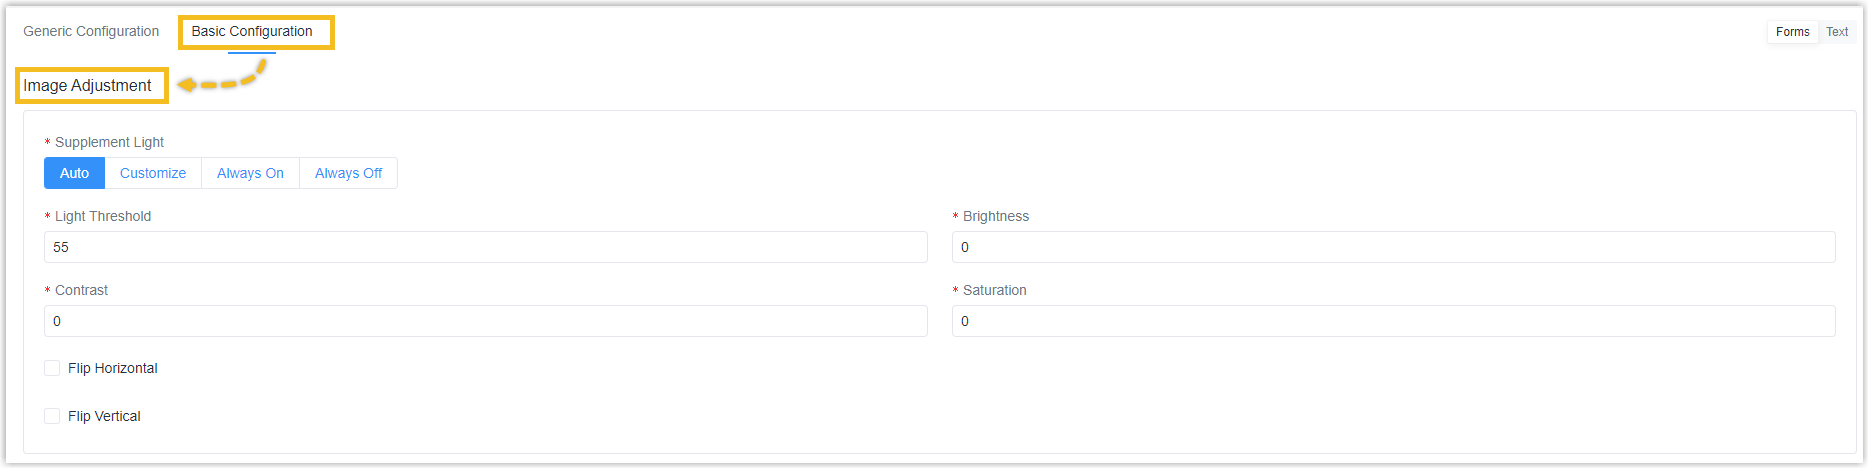
- Select the working mode of supplyment light and configure the parameters.
- Enable Flip Horizontal or Flip Vertical as required.
Step 4. Configure Capture settings
- Go to the Capture Settings section.
- Specify the capture method of the device and configure the parameters.
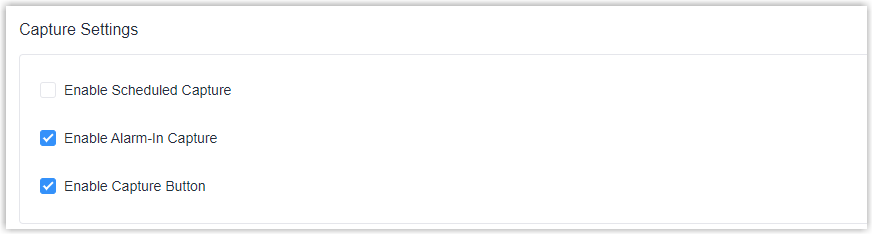
Setting Description Enable Scheduled Capture Enable to capture according to time schedule.
- Timed Capture:
- set the repeat day and time to capture
snapshots.
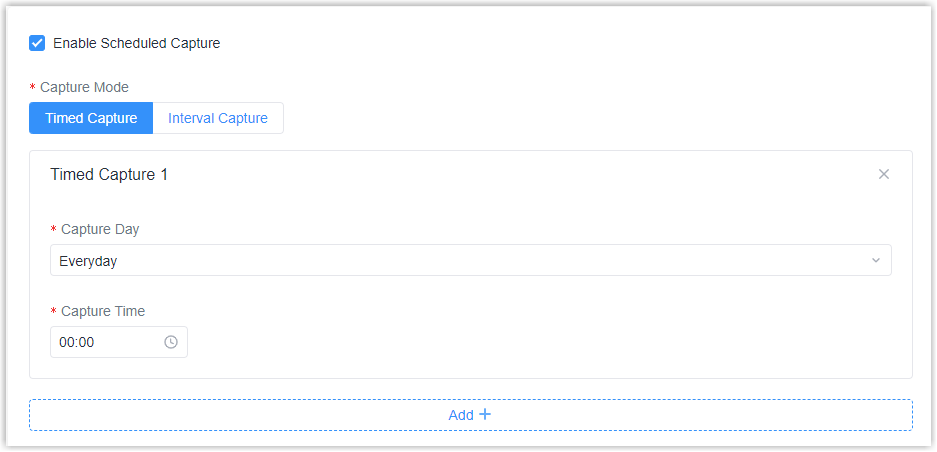
- Interval Capture
- Set the interval time to capture
snapshots.

Enable Alarm-In Capture Enable to send signal to alarm-in interface to trigger the capture.
Enable Capture Button Enable to press button to capture snapshots.
Step 5. Configure Device Maintenance settings
- Go to the Device Maintenance section.

- Customize the device name and select a time zone.
Step 6. Save the custom Profile template
- On the left-bottom of the page, click Save.
- Apply the custom Profile template according to the operation method.
- Web page: Select the Profile template when adding devices.
- API: Do as follow:
- In the Operation column, click
 to download the Profile in
JSON.
to download the Profile in
JSON.
- Include the entire JSON in the API request of Add a Device.
- In the Operation column, click