Add Devices in Bulk
This topic describes how to add devices to Milesight Development Platform in bulk.
Restrictions
Click here to check the maximum number of devices that can be added under different plans.
Prerequisites
- You have collect the devices' SNs or EUIs.
- You have upgrade the firmware version of device model to a supported
version.Note: You need to reboot the device after the SN is added to platform.
- If you have a large number of devices that need to be added, it's
recommended to compile the devices' SNs or EUIs into a file with the
following requirements:
- Format:
xlsx,xls, ortxt. - Size: Less than 100 KB.
- Content: Enter only the device's SNs or EUIs, with each SN or
EUI on a separate line.

- Format:
- If you want to apply custom settings to devices that support Auto-Provision, you need to create custom Config templates for the devices.
Procedure
- Log in to Milesight Development Platform.
- On the top bar, select the Device
tab.

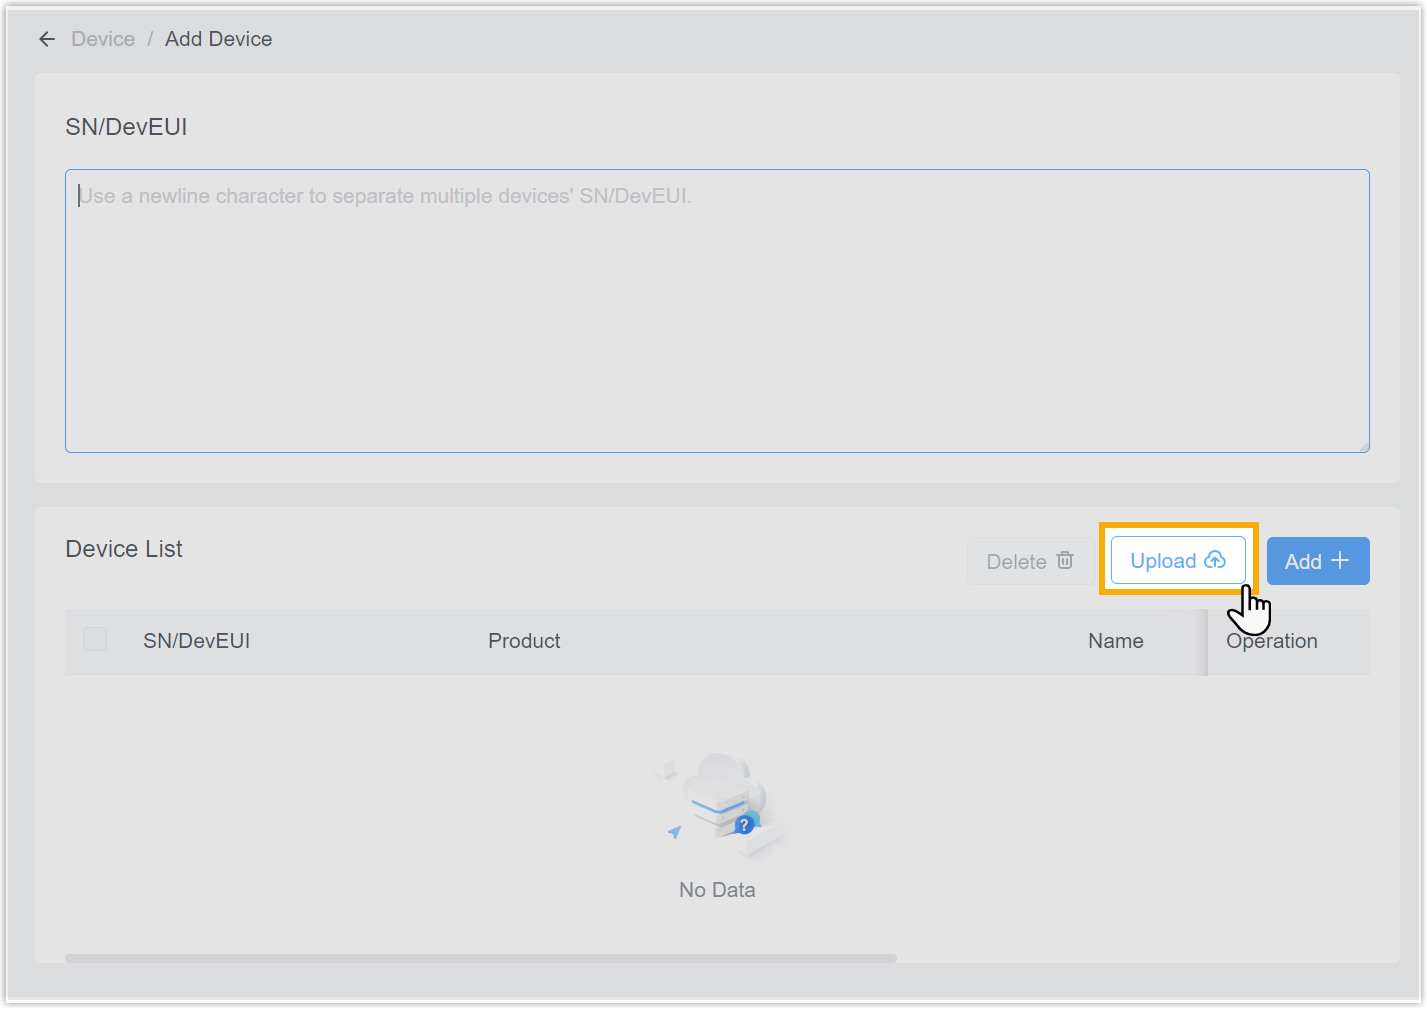
- Click Batch Add.
- In the Add Device page, choose one of the following
methods to fill in the devices' SNs or EUIs.
- If you have compile the devices' SNs or EUIs into an
xlsx,xls, ortxtfile, then click Upload to upload the file.
- If not, do as follow:

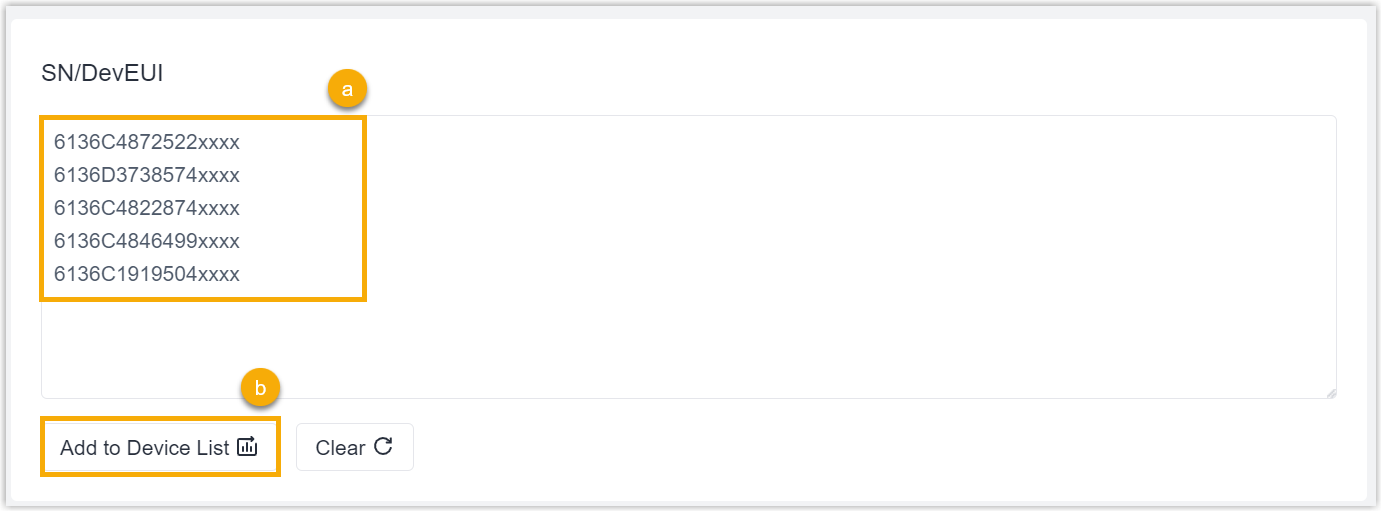
- In the SN/EevEUI section, enter the SNs or EUIs of the desired devices, with each SN or EUI on a separate line.
- Click Add to Device List.
- If you have compile the devices' SNs or EUIs into an
- In the Device List section, edit the device name and
description.

- If there are devices that support Auto Provision, you can configure Auto
Provision for them.

- Turn on Auto Provision After Adding.
- In the Configuration File drop-down list,
select the desired configuration file to apply settings to the
device.Note:
- The listed files include the default Config template and the custom Config templates you created.
- If you do NOT want to enable auto provision for specific devices, then select [None].
- Click Custom to edit the selected file as needed.
- Click Save.
Result
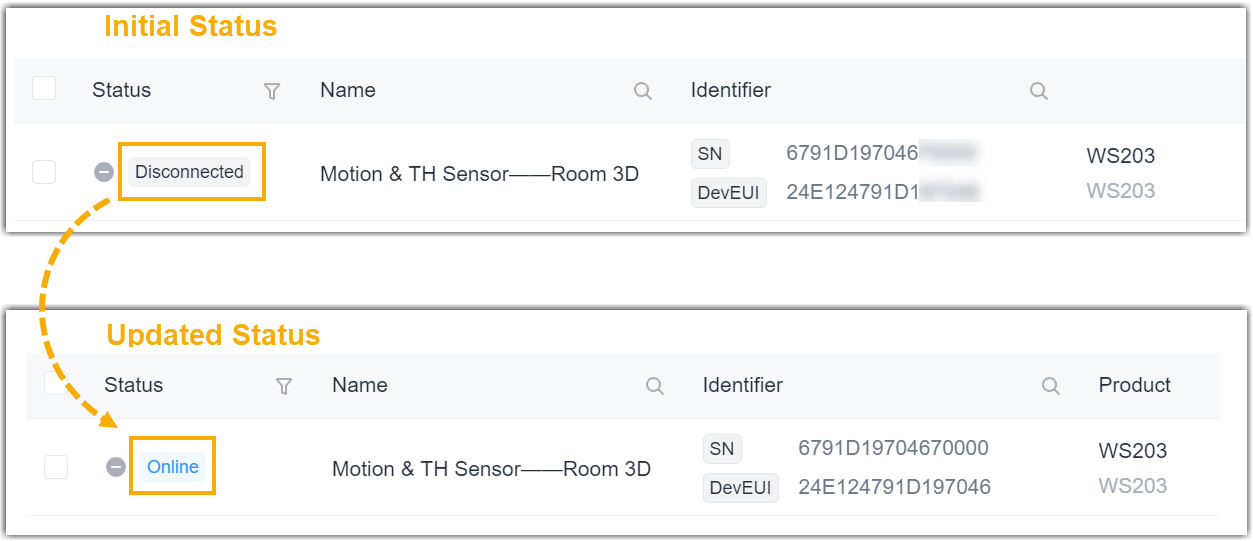
The devices are added to Milesight Development Platform, the Status column displays both auto provision status and connectivity status.

The devices initial connectivity status is displayed as Disconnected, which will be automatically transitioned to Online upon the transmission of the device's heartbeat or data through the platform.

Note: For
Internet accessible devices, if you enabled Auto Provision for a
device and set it NOT to connect to Milesight Development Platform, the device's
status will consistently stay Disconnected.