VS121-P Custom Profile Template
This topic describes how to create a custom Profile template for VS121-P.
Background information
A Profile template contains both Basic Settings and Advanced Settings. Basic settings can edited with the visual interface provided by Milesight Development Platform, while the advanced settings can ONLY be edited in JSON format.
Follow the workflow below to create and apply a custom Profile template:
- Create a custom Profile template on Milesight Development Platform.
- Configure the basic settings with the visual interface.
- Configure the advanced settings in the JSON format.
- Save and apply the custom Profile template accordingly.
Step 1. Create a custom Profile template
- Log in to Milesight Development Platform.
- On the top bar, click Resource,
then select the My Config
tab.

- Click Add.
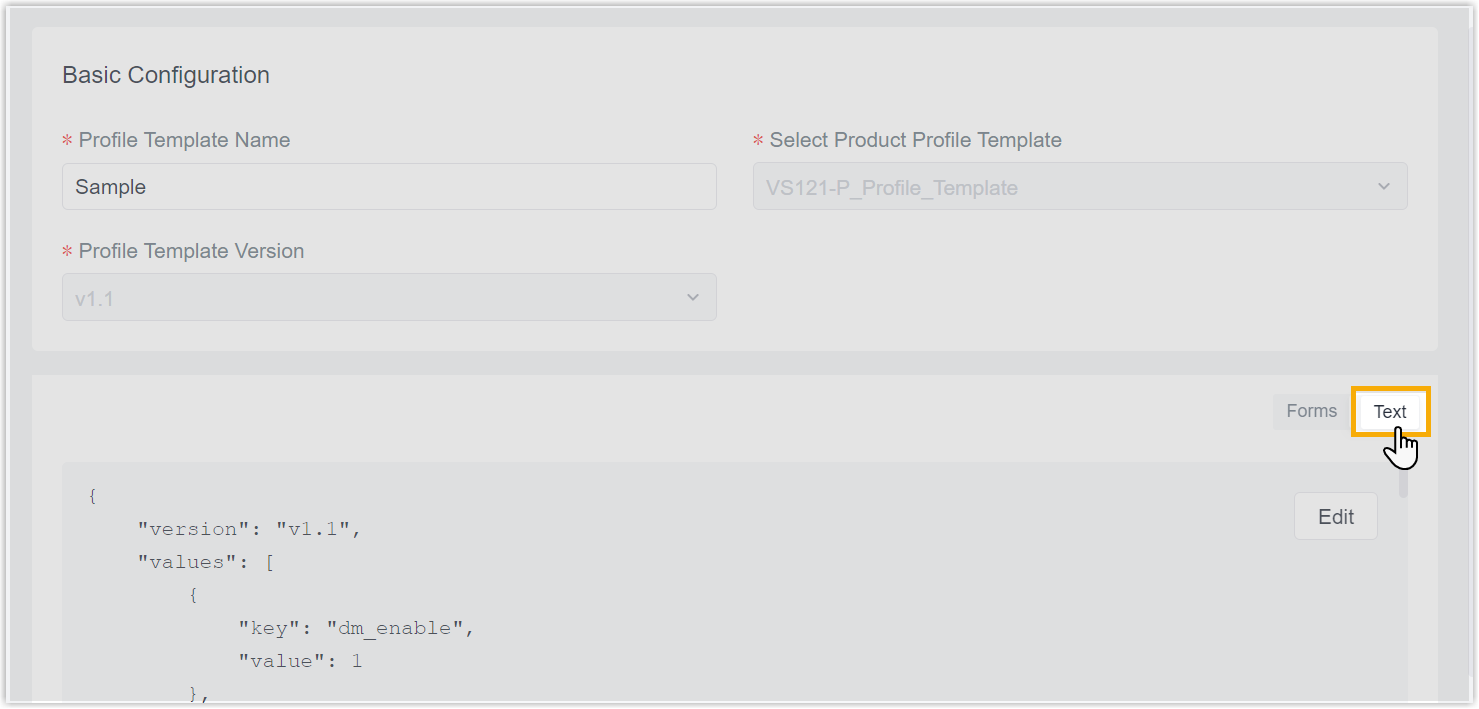
- In the Basic Configuration section, configure the
basic information:
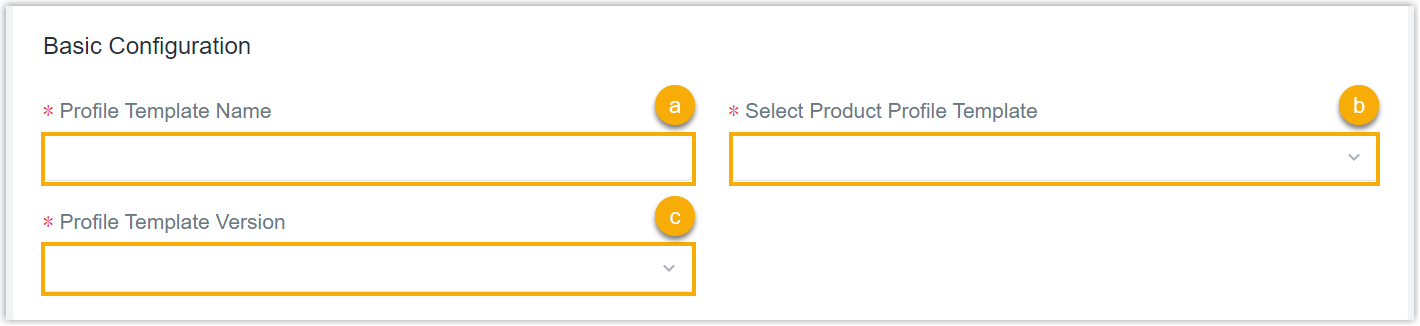
- In the Config Template Name field, specify a name to help you identify this template.
- In the Select Product Config Template field, search and select VS121-P_Profile_Template.
- In the Config Template Version drop-down list, select the version of the Profile template.
Step 2. Configure the connecting platform
- Select the Generic Configuration tab.
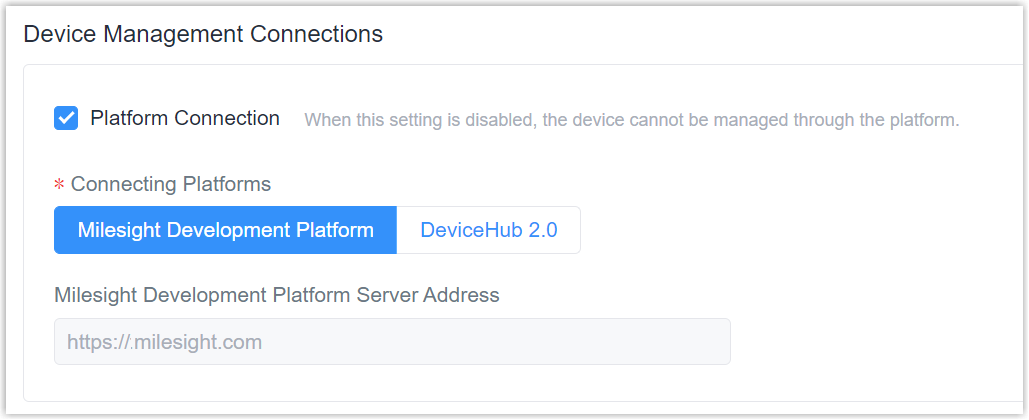
- In the Device Management Connections section, decide
whether to connect the device to Milesight platform for remote management
and configuration.
- Connect the device to Milesight Development Platform
- Retain the default settings.
- Connect the device to Milesight DeviceHub
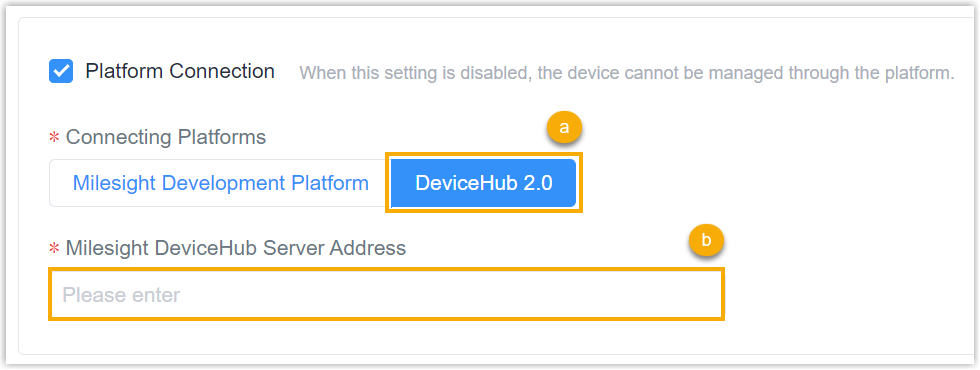
- In the Connecting Platforms field, select DeviceHub 2.0.
- In the Milesight DeviceHub Server Address field, enter the server address of the Milesight DeviceHub.
- Do NOT connect to Milesight platform
- Uncheck the Platform Connection.

Step 3. Configure the Network settings
- Select the Basic Configuration tab, then go to the
Network section.

- In the IP Assignment section, specify the IPv4
assignment method.
Setting Description Manual To manually assign the IPv4 address, do as follow: 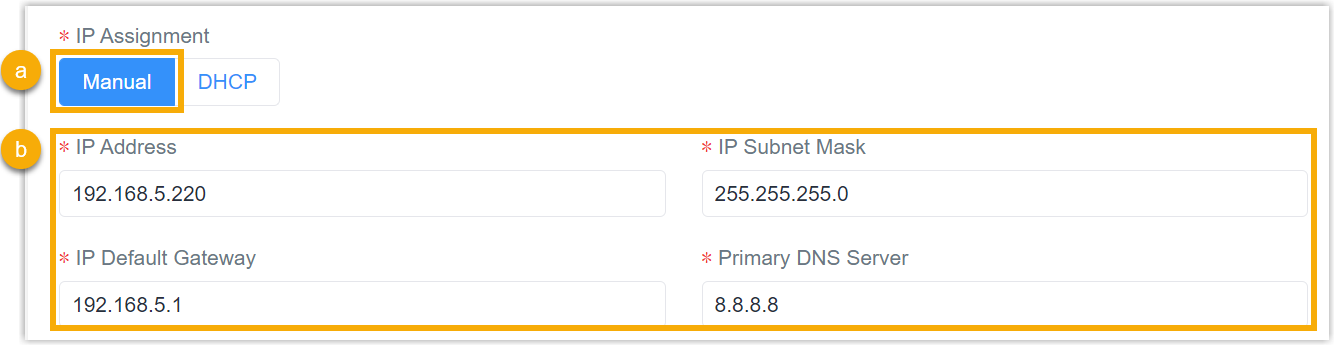
- Select Manual.
- Configure the IPv4 address as needed or retain the default value.
DHCP To automatically assign the IPv4 address, select DHCP. 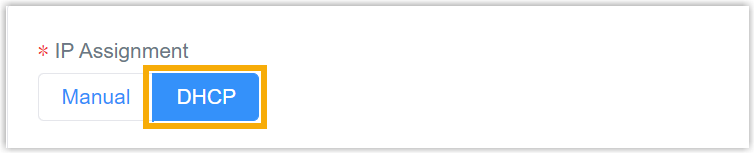
- In the IPv6 Assignment Type section, specify the IPv6
assignment method.
Setting Description Manual To manually assign the IPv6 address, do as follow: 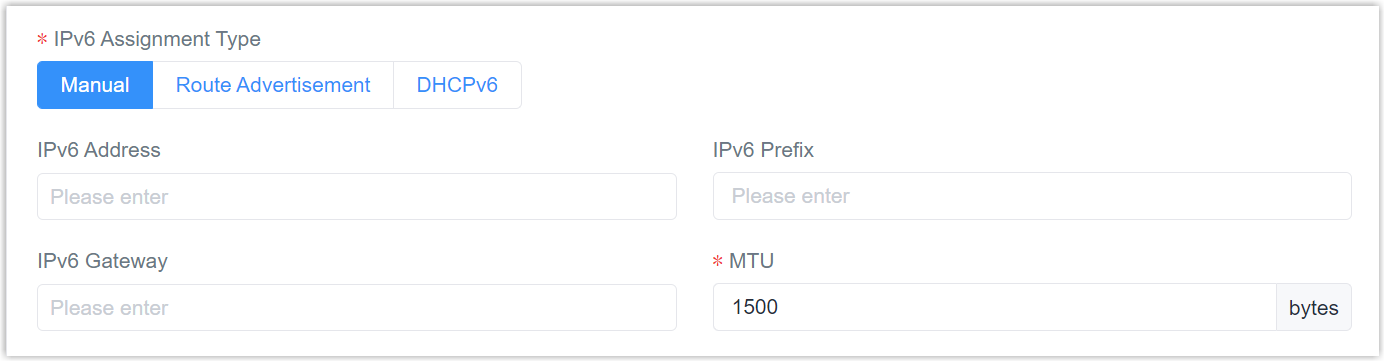
- Select Manual.
- Optional: Configure the IPv6 address, prefix, and gateway as needed.
- In the MTU field, specify the network Maximum Transmission Unit (MTU) or retain the default value.
Route Advertisement Note: Route Advertisement refers to the process of routers informing devices, enabling them to automatically discover network routes and configure their IP addresses without manual intervention.To set the IPv6 assignment method as Route Advertisement. do as follow:
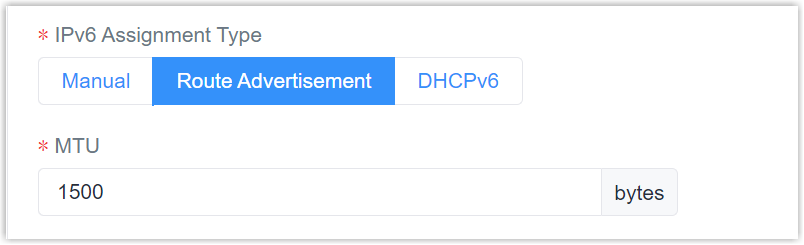
- Select Route Advertisement.
- In the MTU field, specify the network Maximum Transmission Unit (MTU) or retain the default value.
DHCP To automatically assign the IPv6 address, do as follow: 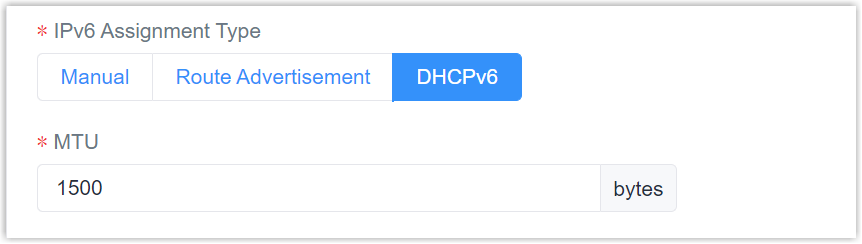
- Select DHCPv6.
- In the MTU field, specify the network Maximum Transmission Unit (MTU) or retain the default value.
Step 4. Configure People Counting settings
- Go to the People Counting section.
- In the People Counting Function section, specify the
people counting function of the device.
Setting Description Region People Counting To set the people counting function as detecting the number of people in specific region, select Region People Counting and configure the following settings: - Dwell Time Detection
- Decide whether to detect the duration
individuals stay within the detection area.If this setting is checked, you need to configure the following settings accordingly:
- Min Dwell Time: Specify the minimum time individuals must stay within the detection area to be detected (Unit: Second).
- Dwell Trigger Report: Decide whether to enable dwell time-triggered reporting, which instantly reports the specific time of entry and exit and dwell time for each person within the area.
- Region Period Report Enable
- Decide whether to enable periodic reporting of
region people detection.
If this setting is enabled, you need to configure the following:
-
Periodic Reporting Mode: Select the periodic report of "On the Dot" or "From Now On".
On the Dot: The device will report at the top of each hour. For example, When the interval is set to 1 hour, it will report at 0:00, 1:00, 2:00 and so on; when the interval is set to 10 minutes, it will report at 0:10, 0:20, 0:30, and so on.
From Now On: Begin reporting from this moment onwards and regularly report based on the interval cycle.
-
Reporting Interval: Specify the interval for periodic reporting.
-
- Region Trigger Report Enable
- Decide whether to enable triggered reporting
of region people detection.
If this setting is checked, you need to configure the following:
- Trigger Report Type:
Specify the trigger for
reporting.
- Zero ⇌ Non-zero: Zero to Non-zero/Non-zero to Zero
- Once result changes:
- Trigger Report Type:
Specify the trigger for
reporting.
- Crowd Alarm Enable
- Decide whether to enable crowding alarm.If this setting is checked, you need to configure the following:
- Crowd Alarm Type:
Specify the type of crowding alarm.
- Total Number: Total number of detected people.
- Number in Area: Specific number of detected people within specific area.
- Value to Trigger Crowd Alarm: Specify the threshold for crowding alarm.
- Crowd Alarm Type:
Specify the type of crowding alarm.
- Region Detection Enable
- Decide whether to enable region
detection.If this setting is checked, you need to configure the following:
- Region Detection Type: Specify the type of region detection.
- Region Report Type:
Specify the type for region detection
reporting.
- Occupancy: Report the occupancy status.
- Region People Counting: Report the number of detected people.
Line Cross Counting To set the people counting function as Line Cross Counting, select Line Cross Counting and configure the following settings: - Line Trigger Report
- Decide whether to trigger reporting for each individual as they cross the line.
- Line Period Report
- Decide whether to enable periodic reporting of
data regarding the detected number of people
crossing the line.If this setting is checked, you need to configure the following:
-
Periodic Reporting Mode: Select the periodic report of "On the Dot" or "From Now On".
On the Dot: The device will report at the top of each hour. For example, When the interval is set to 1 hour, it will report at 0:00, 1:00, 2:00 and so on; when the interval is set to 10 minutes, it will report at 0:10, 0:20, 0:30, and so on.
From Now On:Begin reporting from this moment onwards and regularly report based on the interval cycle.
-
Reporting Interval: Specify the interval for periodic reporting.
-
- U-turn Filter
- Decide whether to exclude individuals making U-turns within the sensor's detection area.
- Staff Filter
- Decide whether to exclude staff within the sensor's detection area.
People Flow Analysis To set the people counting function as People Flow Analysis, do as follow: - Select People Flow Analysis.
- In the Flow Report Interval field, specify the interval for people flow analysis reporting
Step 5. Configure the Image settings
- Go to the Image Settings section.
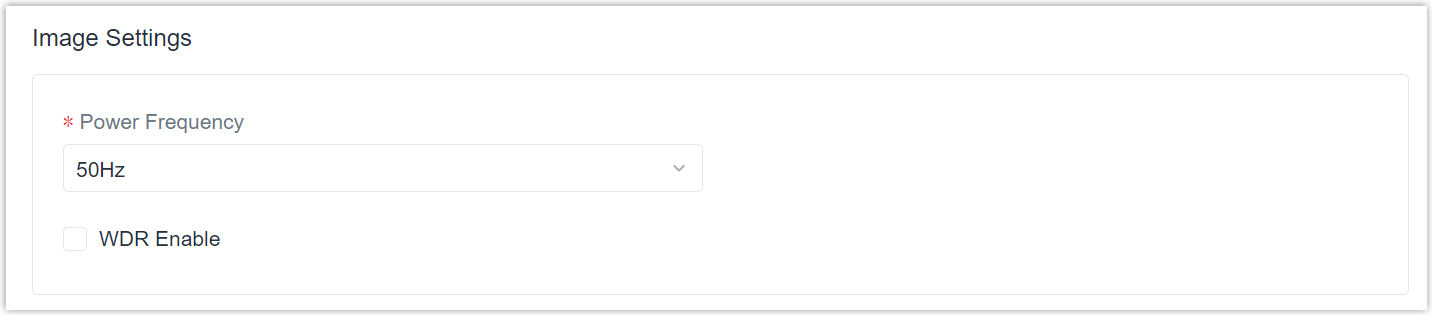
- In the Power Frequency drop-down list, specify the power frequency of the device's image.
- In the WDR Enable field, decide whether to enable
Wide Dynamic Range (WDR).If this setting is checked, you need to configure the following:
- WDR Level: Specify the WDR level.
Step 6. Configure the Recipient Settings
- Go to the Recipient Settings section.
- In the Protocol section, specify the reporting
protocol.
Setting Description MQTT To set the reporting protocol as MQTT, do as follow: - Select MQTT.
- Configure the MQTT information as needed or retain the default value.
MQTTS To set the reporting protocol as MQTTS, do as follow: - Select MQTTS.
- In the TLS Type field,
specify the certificate type for TLS.
- To use the CA-signed TLS certificate, select CA Signed Server.
- To use Self-signed TLS certificate, select Self Signed and upload the required certificate files.
HTTP To set the reporting protocol as HTTP, do as follow: - Select HTTP.
- In the HTTP Recipient
Enable field, decide whether to enable
HTTP
recipient.
If this setting is checked, you need to configure the HTTP Recipient settings accordingly.
HTTP recipient: Add data receivers and the device will proactively push data to the receivers according to the configured reporting scheme.
Step 7. Configure the System Settings
- Go to the System Settings section.
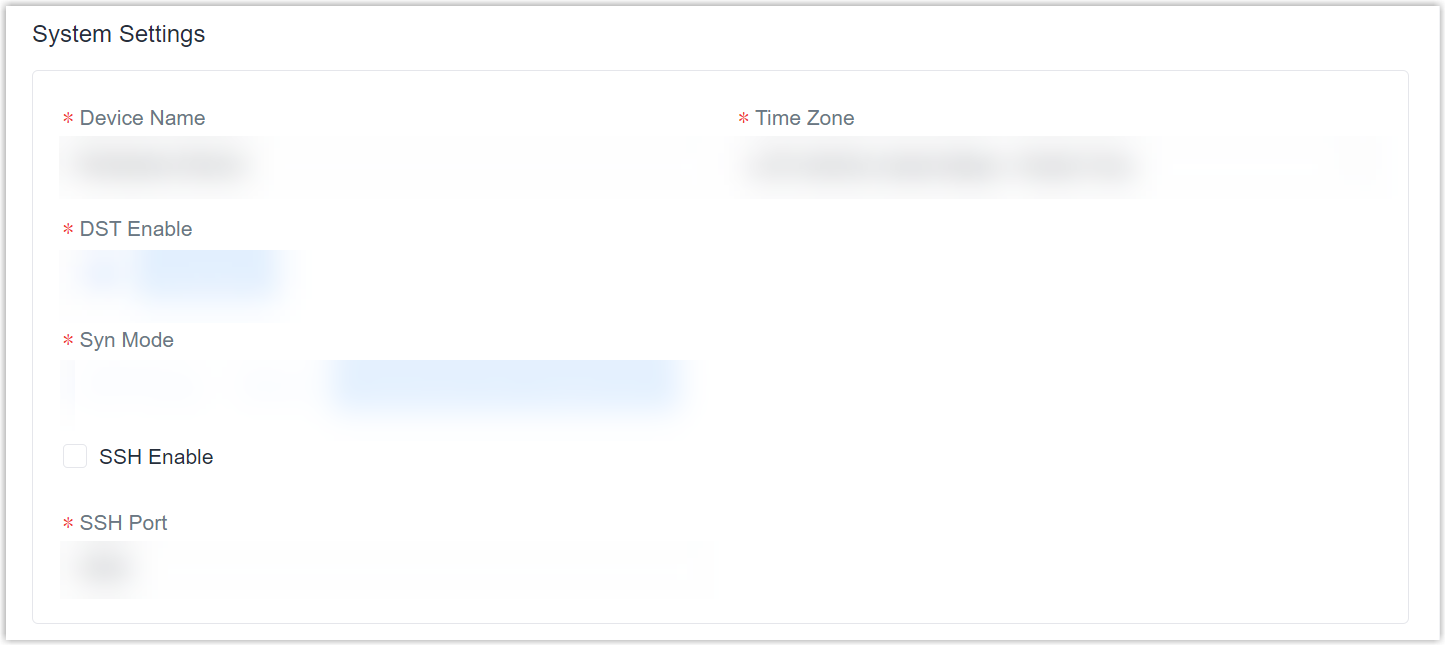
- In the Device Name field, specify a name to help you identify this device.
- In the Time Zone drop-down list, select the desired time zone for this device.
- In the DST Enable field, decide whether to enable
Daylight Saving Time (DST) for this device.
- Off: Disable DST for this device.
- Automatic: Enable DST for this device.
- In the Syn Mode section, specify the time
synchronization mode.
- NTP Timing: Synchronize the device's time
across a network using the Network Time Protocol.
You can specify the NTP Server Address and NTP Syn Interval as needed.
- Manual: Manually synchronize the device's time.
- Synchronize with computer time
- NTP Timing: Synchronize the device's time
across a network using the Network Time Protocol.
- Configure the SSH service as needed.
- SSH Enable: Decide whether to enable or disable SSH service.
- SSH Port: Specify the SSH port.
Optional: Step 8. Configure the advanced settings
- Scroll up to the top of the page, click TEXT on the
right to view the settings in JSON.
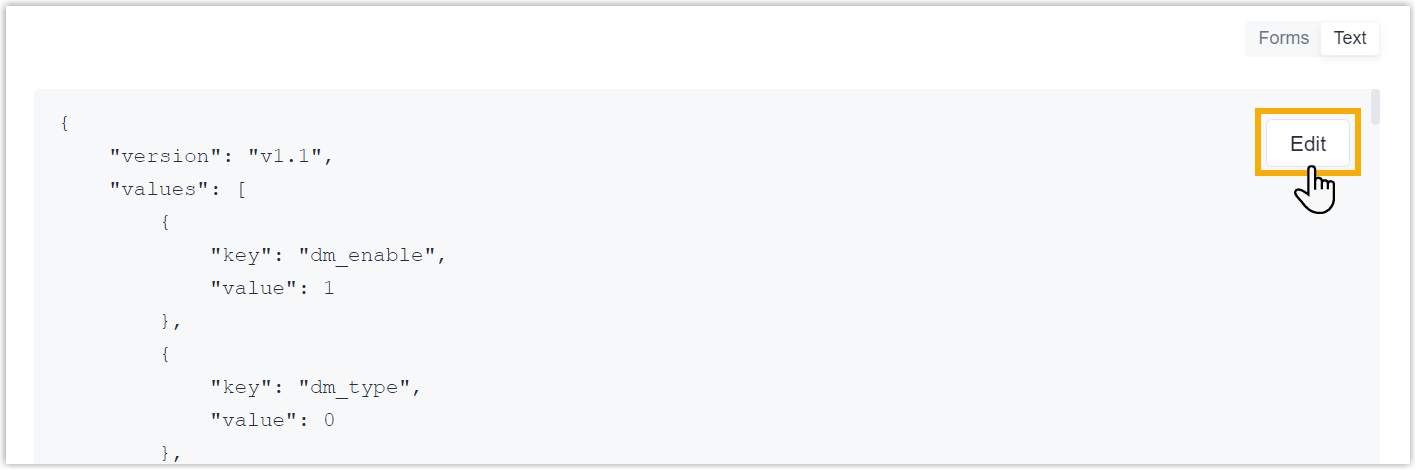
- Click Edit to enter edit mode.
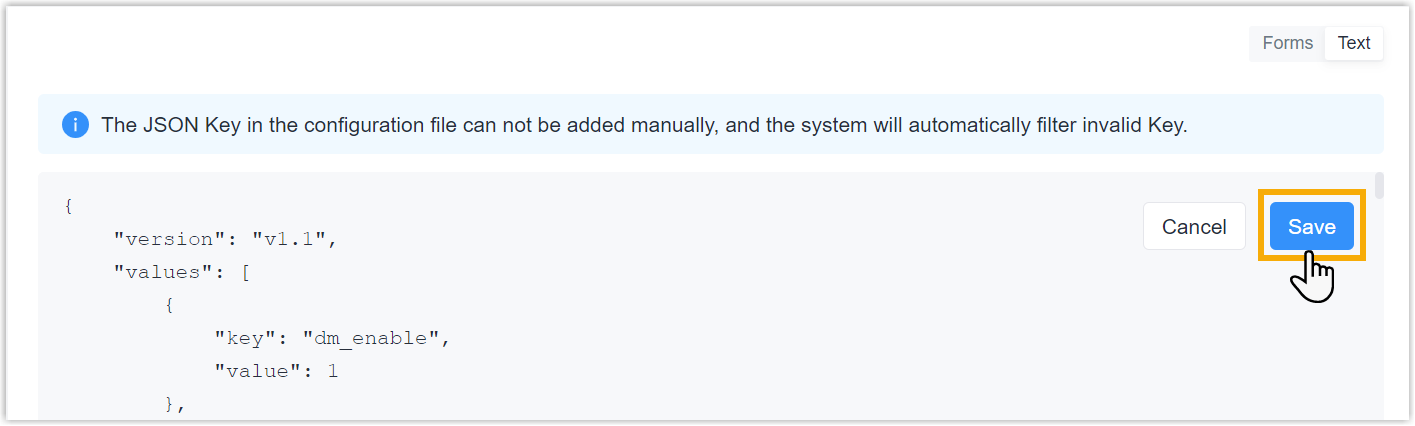
- Search and edit the following keys' value as needed.
Key Type Description privacy_mode Integer Specify the privacy mode of the device.
The privacy mode decide whether the video stream displayed on liveview is clear enough to identify faces, with the purpose of protecting individuals' privacy.
Valid value:
0: Blur. (Default value)1: Normal.
Note: Once privacy mode is set, it can only be changed by resetting the device.privacy_mask Integer Decide whether to enable privacy mask Valid value:
0: Disable. (Default value)1: Enable.Note: You can set up the privacy mask areas on of the device's setting interface.
mask_color Integer Note: This parameter ONLY takes effect when privacy_mask is set toSpecify the color of privacy mask areas.1.Valid value
rtsp_port Integer Note: This parameter ONLY takes effect when privacy_mode is set toSpecify the RTSP port (Default value: 554).1(normal mode).Valid value:
1-65535rtp_packet Integer Note: This parameter ONLY takes effect when privacy_mode is set toSpecify the RTP packet size.1(normal mode).Valid value:
1448: Better Compatibility (Default Value).8000: Better Performance
multicast_addr String Note: This parameter ONLY takes effect when privacy_mode is set toSpecify the RTSP-related multicast addresses of the device. (Default value: 239.6.6.6)1(normal mode).qos_dscp Integer Note: This parameter ONLY takes effect when privacy_mode is set toSpecify the RTSP-related QoS DSCP. (Default value: 0)1(normal mode).Valid value:
0-63region_count_sche String Note: This parameter ONLY takes effect when count_func is set toDefine the timing and period for enabling Region People Counting (Default value: All day from Monday to Sunday).0(Region People Counting).Valid value:
line_count_sche String Note: This parameter ONLY takes effect when count_func is set toDefine the timing and period for enabling Line Cross Counting (Default value: All day from Monday to Sunday).1(Line Cross Counting).Valid value:
flow_analy_sche String Note: This parameter ONLY takes effect when count_func is set toDefine the timing and period for enabling People Flow Analysis (Default value: All day from Monday to Sunday).2(People Flow Analysis).Valid value:
algo_scheme - Click Save.
Step 9. Save the custom Profile template
- On the left-bottom of the page, click Save.
- Apply the custom Profile template according to the operation method.
- Web page: Select the Profile template when adding devices.
- API: Do as follow:
- In the Operation column, click
 to download the Profile in
JSON.
to download the Profile in
JSON.
- Include the entire JSON in the API request of Add a Device.
- In the Operation column, click